
How to Fix Wi-Fi Problems in Windows 11

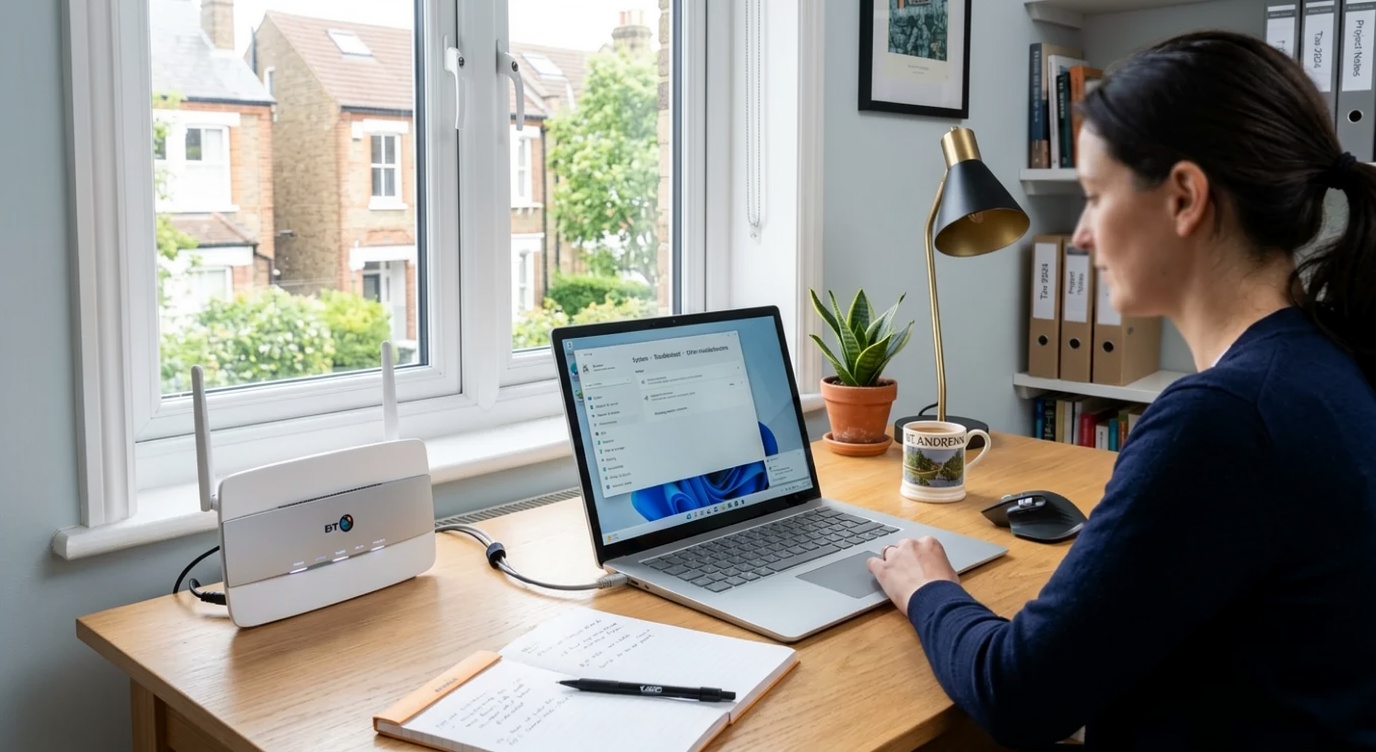
How to Fix Wi-Fi Problems in Windows 11
A reliable internet connection is essential whether you’re working from home, attending online meetings, gaming, or streaming content. Unfortunately, Windows 11 Wi-Fi problems can occur unexpectedly, leaving you disconnected or dealing with slow and unstable connections.
The good news is that many Wi-Fi issues can be fixed in just a few minutes. This guide explains the most common causes and the best troubleshooting steps to help restore your connection.
Common Signs of Wi-Fi Problems
You may notice one or more of these issues:
- Unable to connect to Wi-Fi
- Frequent disconnections
- Slow download or upload speeds
- Limited or no internet access
- Wi-Fi network not appearing
- Connection drops after Windows updates
Understanding the symptoms can help identify the right solution.
1. Restart Your Router and Computer
Before making any changes, restart both your router and your Windows 11 PC.
This simple step often clears temporary network problems and refreshes the connection.
2. Check Airplane Mode
Windows 11 includes an Airplane Mode setting that disables wireless communications.
To check:
- Open Settings
- Select Network & Internet
- Confirm Airplane Mode is turned Off
Also ensure that Wi-Fi itself is switched on.
3. Forget and Reconnect to Your Wi-Fi Network
If Windows saved incorrect network information, reconnecting may solve the issue.
Steps:
- Open Settings
- Select Network & Internet
- Click Wi-Fi
- Choose Manage known networks
- Select your Wi-Fi network
- Click Forget
- Reconnect by entering your Wi-Fi password again
4. Run the Network Troubleshooter
Windows 11 includes a built-in network troubleshooter.
To run it:
- Open Settings
- Go to System
- Select Troubleshoot
- Click Other troubleshooters
- Run the Network and Internet troubleshooter
Windows will automatically check for common networking issues.
5. Update Your Wi-Fi Driver
Outdated network drivers can cause unreliable connections.
To update:
- Open Device Manager
- Expand Network adapters
- Right-click your wireless adapter
- Select Update driver
Keeping drivers up to date improves compatibility and stability.
6. Install the Latest Windows Updates
Microsoft regularly releases updates that include networking improvements and bug fixes.
Go to:
Settings → Windows Update
Install any available updates before testing your connection again.
7. Reset Network Settings
If nothing else works, resetting your network configuration can resolve deeper connectivity issues.
Go to:
Settings → Network & Internet → Advanced network settings → Network reset
You’ll need to reconnect to your Wi-Fi network afterwards.
Tips to Prevent Future Wi-Fi Problems
To keep your connection stable:
- Keep Windows updated
- Update network drivers regularly
- Restart your router occasionally
- Position your router in an open area
- Avoid overcrowded Wi-Fi channels where possible
These small maintenance tasks can improve long-term performance.
Final Thoughts
Most Windows 11 Wi-Fi problems are caused by temporary network issues, outdated drivers, or incorrect settings. By following the steps in this guide, you can usually restore your connection without needing professional assistance.
If Wi-Fi problems continue after trying these solutions, the issue may be related to your router, internet service provider, or wireless hardware.
❓ Frequently Asked Questions
Why does my Windows 11 laptop keep disconnecting from Wi-Fi?
Common causes include outdated drivers, router issues, interference, or Windows network configuration problems.
Can Windows Update cause Wi-Fi issues?
Occasionally, a Windows update may affect network drivers or settings. Installing the latest updates or updating your Wi-Fi driver often resolves the issue.
How do I reset my Wi-Fi settings in Windows 11?
Go to Settings → Network & Internet → Advanced network settings → Network reset and follow the on-screen instructions.
Should I update my Wi-Fi driver?
Yes. Updated drivers often improve compatibility, stability, and performance.