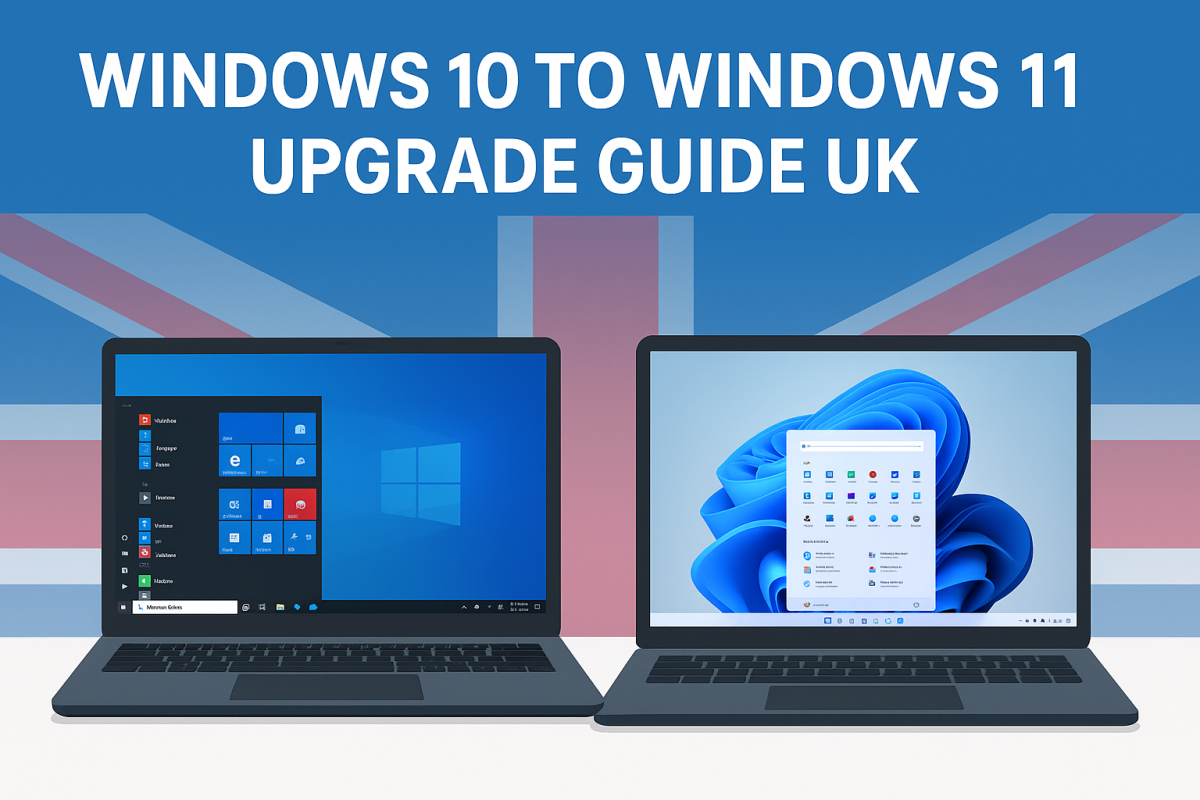
How to Upgrade from Windows 10 to Windows 11 (Step-by-Step)

How to Upgrade from Windows 10 to Windows 11 (Step-by-Step)
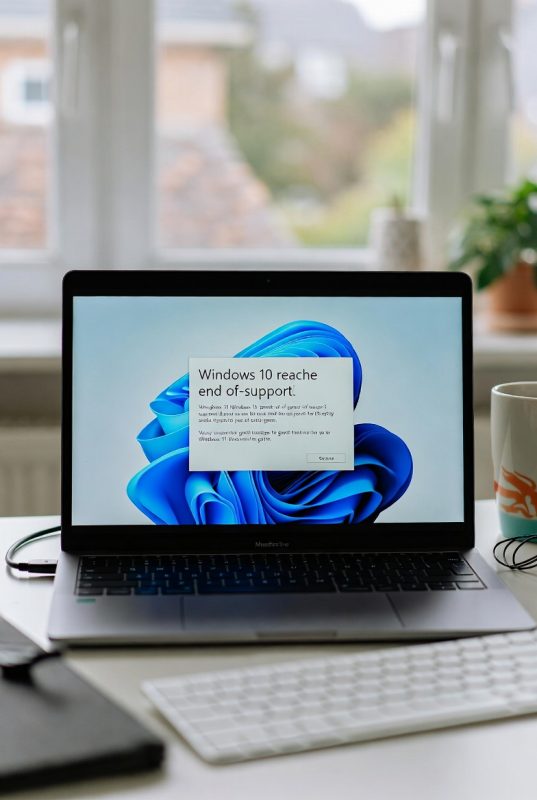
With Windows 10 support ending, many users are now looking to upgrade to Windows 11. The good news is that the process is usually straightforward if your PC meets the requirements.
This guide walks you through everything step by step, so you can upgrade with confidence.
Step 1: Check if Your PC Is Compatible
Before upgrading, you need to confirm your device supports Windows 11.
Key requirements include:
- Compatible 64-bit processor
- 4GB RAM or more
- TPM 2.0 support
- Secure Boot enabled
You can use Microsoft’s PC Health Check tool to quickly verify this.
Step 2: Back Up Your Files
Before making any major system change, it’s always a good idea to back up your data.
You can:
- Save files to an external drive
- Use cloud storage
- Create a full system backup
This ensures your files are safe if anything goes wrong.
Step 3: Open Windows Update
To begin the upgrade:
- Go to Settings
- Click Update & Security
- Select Windows Update
If your PC is eligible, you’ll see the option to upgrade to Windows 11.
Step 4: Start the Upgrade
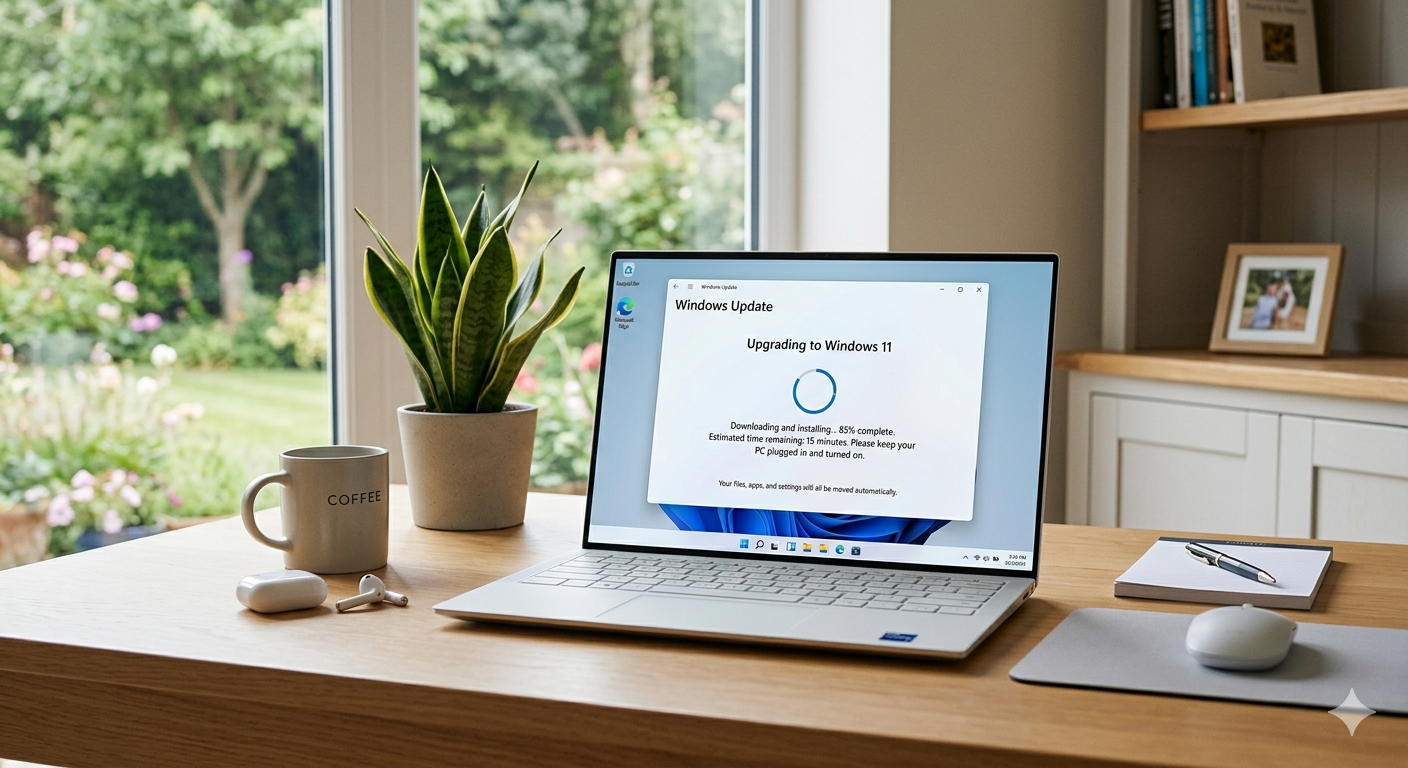
Click Download and Install and follow the on-screen instructions.
The process may take some time, and your PC will restart several times. Make sure your device stays powered during the upgrade.
Step 5: Complete Setup
Once installed, you’ll go through a quick setup process.
You can:
- Sign in with your Microsoft account
- Adjust privacy settings
- Choose system preferences
After this, your Windows 11 system will be ready to use.
Common Upgrade Issues
Some users may face issues such as:
- Compatibility warnings
- Slow installation
- Activation problems
If this happens, checking system requirements or running the update again usually resolves the issue.
Final Thoughts
Upgrading from Windows 10 to Windows 11 is one of the best ways to keep your system secure and up to date. By following these steps, you can complete the process smoothly and avoid common problems.